Stegu wall cladding can add a wow factor to both interior and exterior walls which explains why it is growing in popularity. There are many benefits of adding stone wall cladding.
One of the great benefits of Stegu wall cladding is that due to the stretcher bonds of the individual panels, the wall cladding installation is extremely easy. Additionally, the natural stone tiles provide unique character to inside and outside spaces, adding a luxurious feel to every wall.
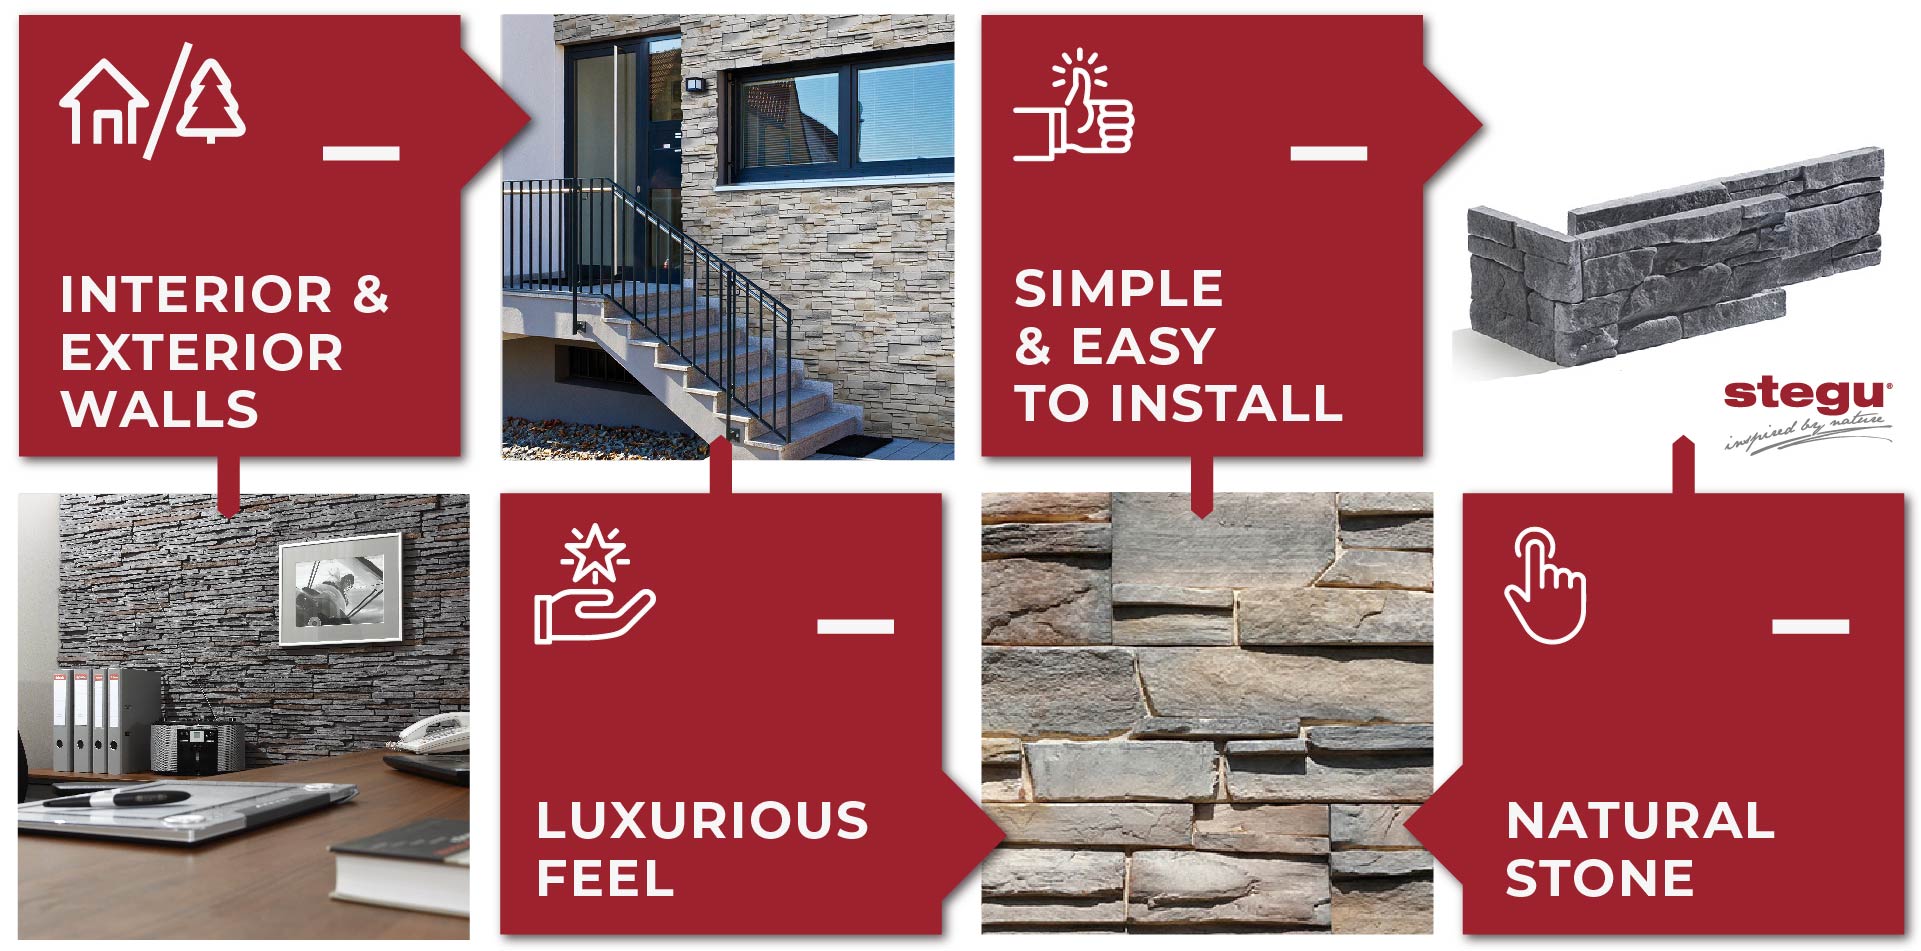
Natural, irregular, and multi-colour surface of the stone, as featured in the Stegu wall cladding range, is an exciting alternative to standard finishing solutions. In addition, the natural stone which is found in the Stegu cladding also works well as a facade decoration and adds luminance to the wall in daylight.
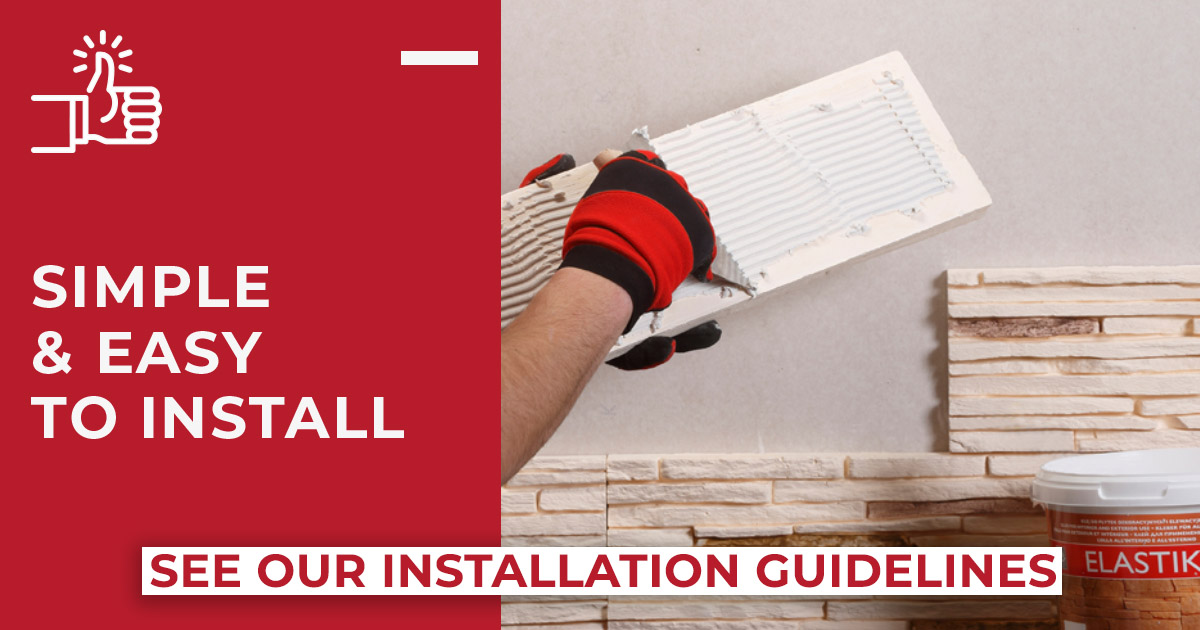
Here are some tips, tricks and advice when installing stone wall cladding in your property.
Application of Stone Wall Cladding
- Before beginning application of Stegu wall cladding, make sure to carefully measure the area and purchase an additional 10% of materials, including primer and adhesive in case of any mistakes or wastage on awkward cuts and corners.
- Use tiles from different boxes to distribute a variation of colours and achieve a more natural look.
- During and after the application process, ensure that temperature stays within +5°C to +25°C for around 48 hours to ensure the best outcome.
- Always read the instructions included in the cladding and material packages as information may vary depending on the tile type or surface.
Prepping the Surface
- Make sure your wall surfaces are correctly conditioned and are strong enough before applying your stone cladding. The surface should be evenly textured, dry, and free from loose materials – such as residues of paints, antiadhesive agents and grease.
- Prime the surface with a reliable product such as Stegu Primer.
Bonding the Stone Wall Cladding to the wall
- Start from the bottom and rest the first row of tiles on the surface.
- Using a mason’s level, mount a leveling screed if there is no even horizontal support for the tiles. Make sure the height does not exceed the height of a single row of tiles above the floor or ground.
- To get the best results you should offset one row of tiles to avoid aligning the tiles/joints vertically.
- Use an adhesive such as the Multielastik Adhesive and follow the instructions provided on the package.
Stegu Wall Cladding Range
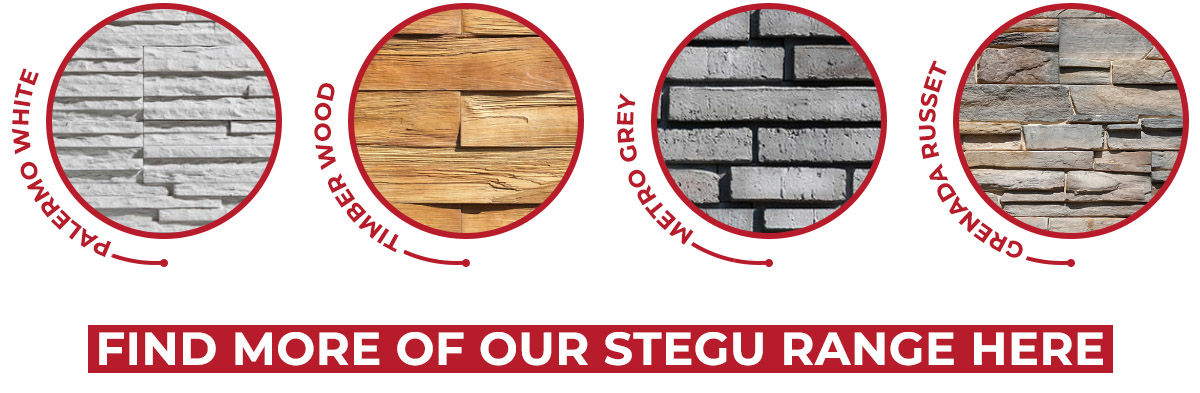
Stegu’s natural stone wall cladding is made from pure aggregate that has been imported from remote parts of the world, offering a rich palette of colours that reflect the variety of surrounding nature. Browse the Stegu range here.
Stegu wall cladding products have been praised for their exceptional design and precise finishing that are perfectly designed for decorative applications. The tiles can be used inside or outside to create a great effect as a facade or on any other architectural concepts around your property.
With their innovative solutions, the Stegu wall cladding products are continuously being improved and their leading position in decorative tile production is a top priority. Their products are made to ensure the simplest of installation.
Frequently Asked Questions: Stone Wall Cladding Installation
⬇️ Q. How many days should I wait after tile installation and application of joint before I can put on the impregnant?
A. 14 days, however it is recommended to wait 4 weeks as it is the safest solution. During that time the facade cannot be subjected to heavy rain as efflorescence may appear in the powder adhesive and the joint that is not fully bound will change colour depending on the rain amount and frequency. It is especially important in case of jointing fences and free-standing poles.
⬇️ Q. What should I use to paint the tiles when I have to cut them?
A. The best and proven method is to take the cut tile with a colour that is the most representative out of all purchased tiles to the shop which can mix paint. Select the paint that resembles the tile colour the most and buy a slightly darker paint. Paint with the use of a sponge – that ensures achieving the best result. If the tile is discoloured, you can also purchase dark paint. Bear in mind that any good paint is suitable for interior applications so all you need to buy is a sampler, i.e., a paint of 0.25 l capacity.
When applied to the exterior, the paint must be adjusted to external walls and suitable for concrete plaster. After preparing the bas-relief on the stand (the maintenance should be carried out prior to applying adhesive), the paint should be applied only once, with one decisive spray. Do not respray a painted spot. It will result in a damp patch that will be impossible to remove. This agent binds very quickly, so even if you cover another layer after 30 seconds, it will not be absorbed. It will remain on the surface and create glassy, gleaming layer. After using the resin, the surface becomes harder and more resistant to shock. The colour of the bas-relief becomes darker, but it is uniform and matt (it absorbs more easily and takes longer to bind). The surface prepared in this way can be wiped with a damp cloth.
⬇️ Q. What should I do if the adhesive binds too quickly (after about 15 minutes in 23°C)?
A. Add more water than recommended on the package.
⬇️ Q. Can COUNTRY tiles be used in rooms such as the kitchen – where there might be fumes and the tiles are likely to get dirty? How do I keep them clean?
A. All concrete tiles designed for exterior applications are suitable for kitchen and bathroom after applying Stone Care impregnant, but you need to avoid their direct contact with water. The surface prepared in this way can be wiped with a damp cloth with soap. When it comes to the kitchen, particularly surfaces between the cupboard and the worktop, you can also cover them with a clear plexiglass, e.g., where spacers occur. It provides beautiful visual effect and at the same time very effective protection.
⬇️ Q. The entire wall has been covered with Parma tiles, but 4 of them are mounted only with joints. Will they fall off?
A. There are 2 ways to fix this:
1. Take down the tiles, file the joint and apply the tiles again.
2. Buy white adhesive and glue the tiles only where the joints are connected. This will fix the tiles in a secure position.
⬇️ Q. Can I glue Nepal tiles and lighter tiles to styrofoam? If so, how can I do this?
A. Facade tiles can be mounted to styrofoam, but you need to dowel it properly and apply adhesive with a high-density mesh (over 180 g) prior to tile installation.
⬇️ Q. Will the room become quieter if I apply tiles on the walls?
A. We cannot guarantee that such an action will make the room quieter, but it is certain that the sound will bounce off the walls in a different way compared to the surface that does not have any tiles.
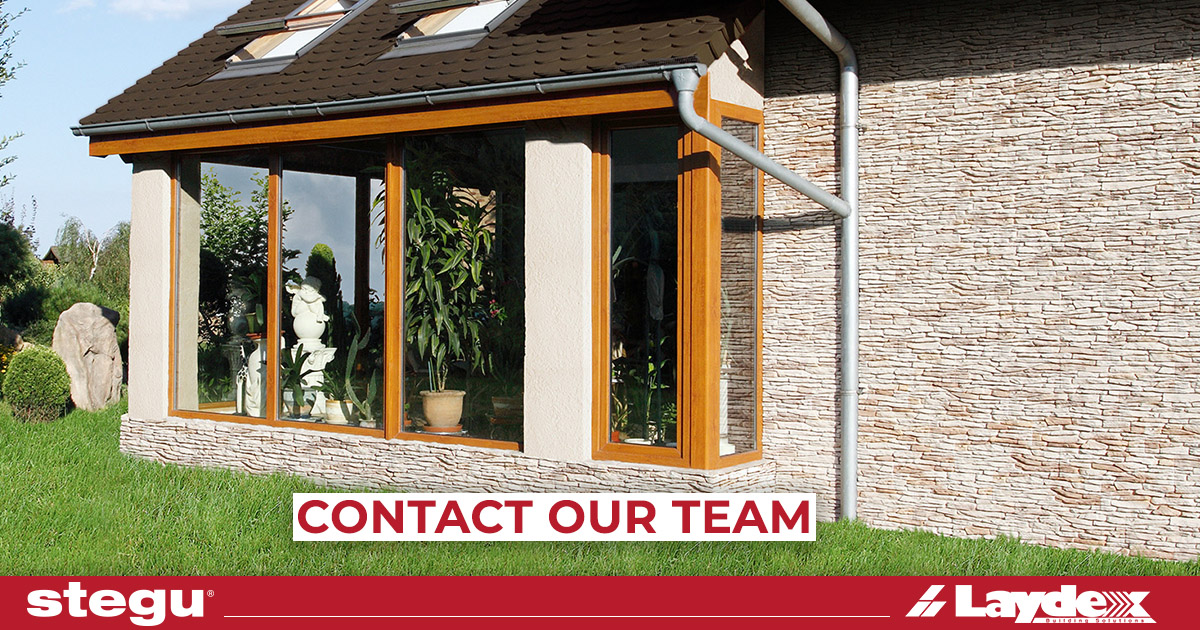
Contact Laydex team for more details
If you’re considering installing Stegu Wall Cladding products in your property, contact Laydex today here.